Configuring Devices#

Configuring Devices

This tutorial walks you through configuring a device in VEXcode IQ (1st gen), using a Touch LED as an example. By the end, you’ll have added a Touch LED and be ready to use its blocks.

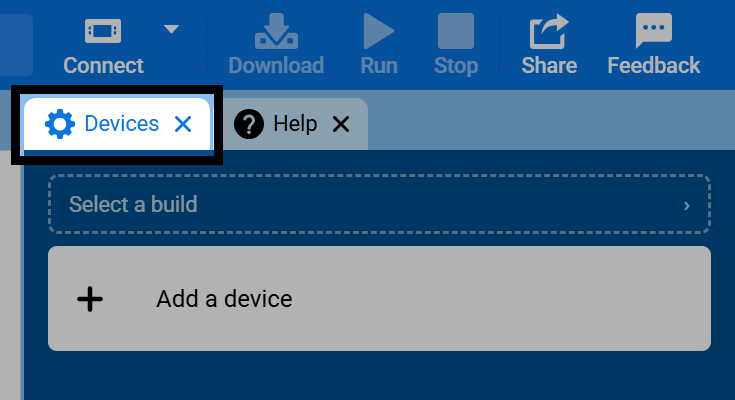
  1. Select the Devices tab.

Screenshot of VEXcode's tab bar, with the Devices tab highlighted.
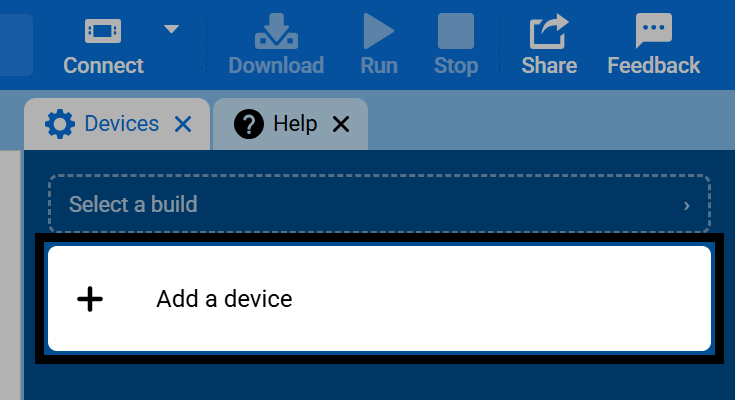
  1. Select Add a Device.

Screenshot of the Devices tab, with the Add a Device button highlighted.
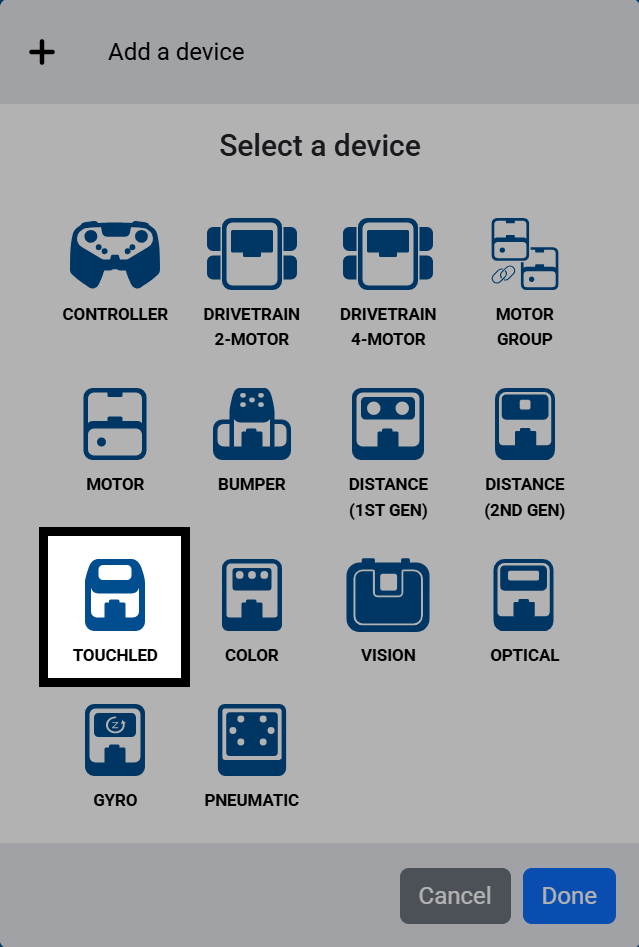
  1. Select Touch LED.

Screenshot of the Select a device screen, showing the available sensors.
  1. Select which port the Touch LED is connected to on the Brain.
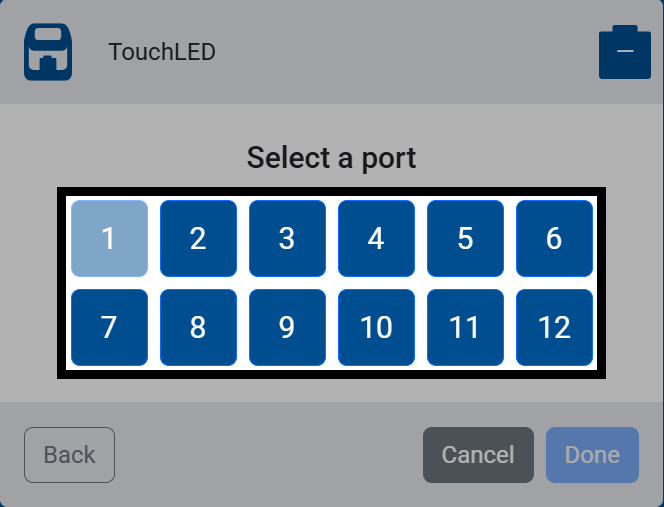
Screenshot of the Select a port screen for a sensor, showing ports 1 through 12 to choose from.
  1. Select Done to add it to your robot.
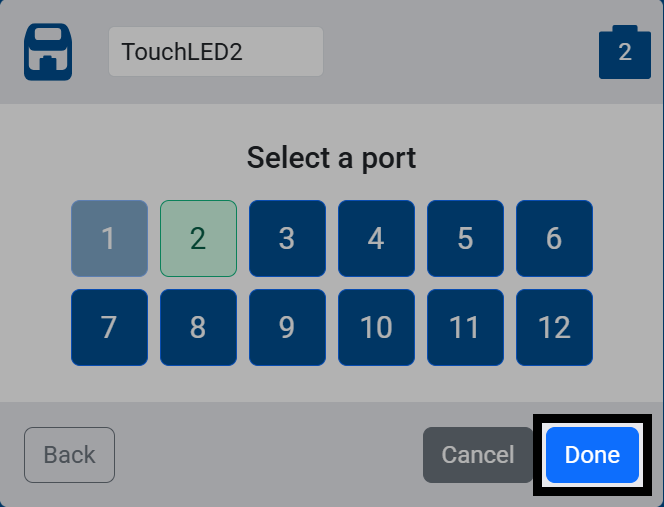
Screenshot of the Select a port screen for a sensor, with a port selected and the Done button highlighted.
  1. The Touch LED will now appear in your list of Devices.
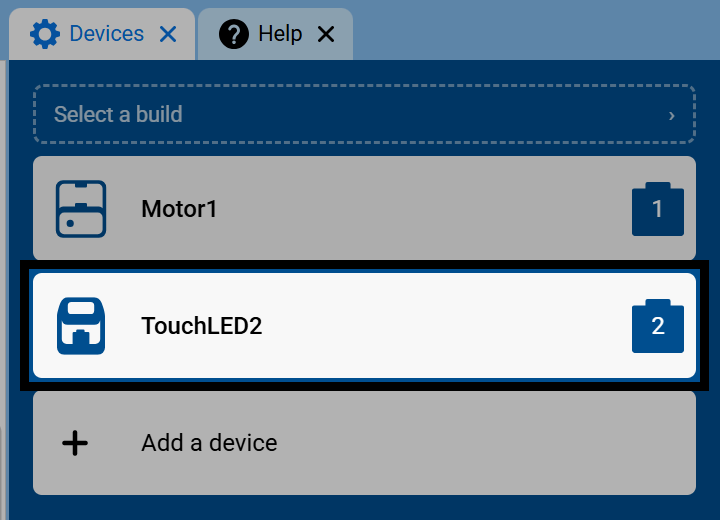
Screenshot of the Devices tab, showing TouchLED2 in the list of devices.
  1. The Touch LED’s blocks will now appear in the toolbox, within the Sensing category.
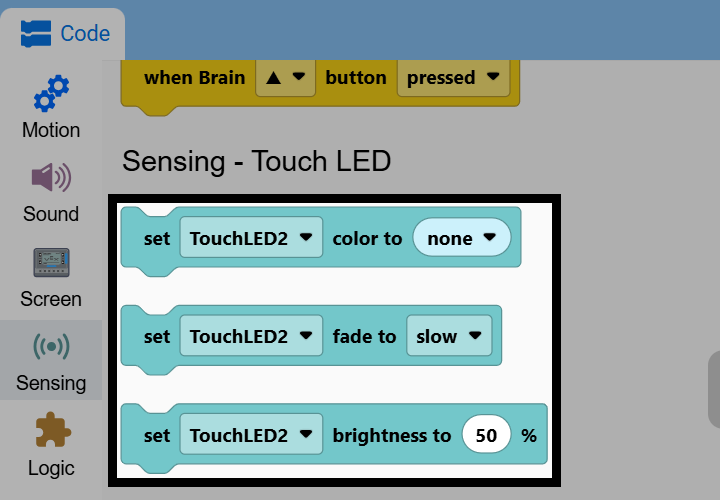
Screenshot of the toolbox with the Sensing category open, showing the Touch LED's set color and set fade blocks.