
Moving the Arm#
Moving the Arm
This tutorial walks you through using the move arm to position block to move the 6-Axis Arm in VEXcode CTE. By the end, you’ll have a project that moves the arm to a new position, then back.
Select the Arm category to see the Arm blocks in the toolbox.
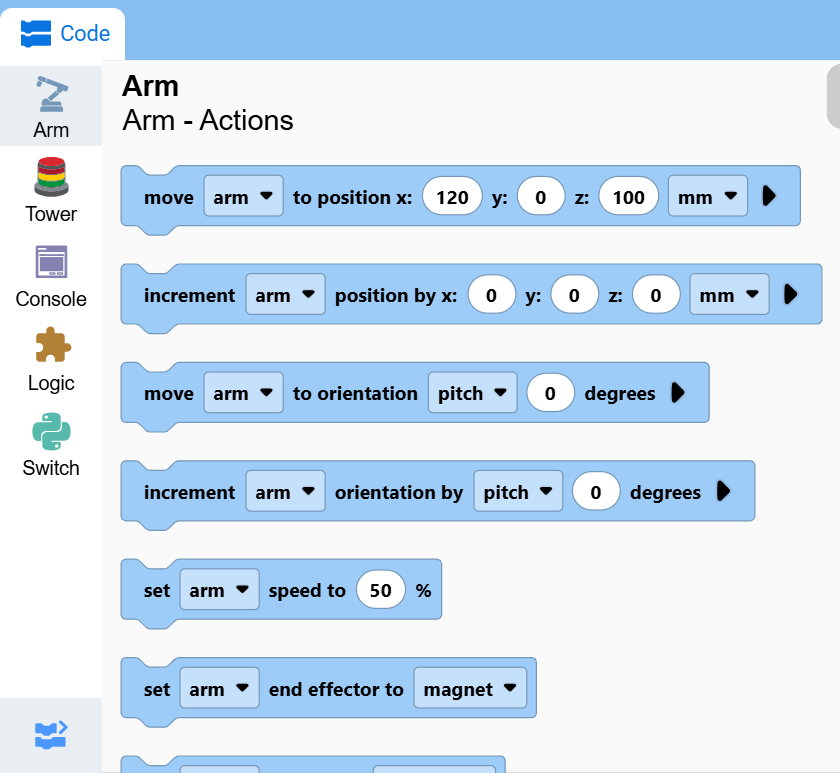
Attach two move arm to position blocks below the when started block.
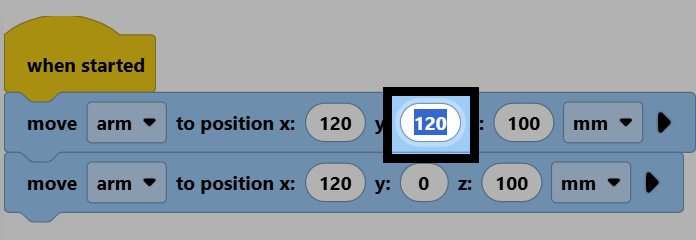
Two move arm to position blocks connected below when started.#
    when started
        move [arm v] to position x:[120] y:[0] z:[100] [mm v] ▶
        move [arm v] to position x:[120] y:[0] z:[100] [mm v] ▶
On the first block, change the y parameter to 120. The x, y, and z values set where the arm’s end effector moves to.
Make sure your arm is connected to VEXcode, then select Start to run the project. The arm will move to the new position, then back to where it started.
