Setting Up the 6-Axis Arm#
This tutorial walks you through setting up the 6-Axis Arm to connect directly to your computer. By the end, your arm will be powered, connected to VEXcode CTE, and moved to a safe starting position.
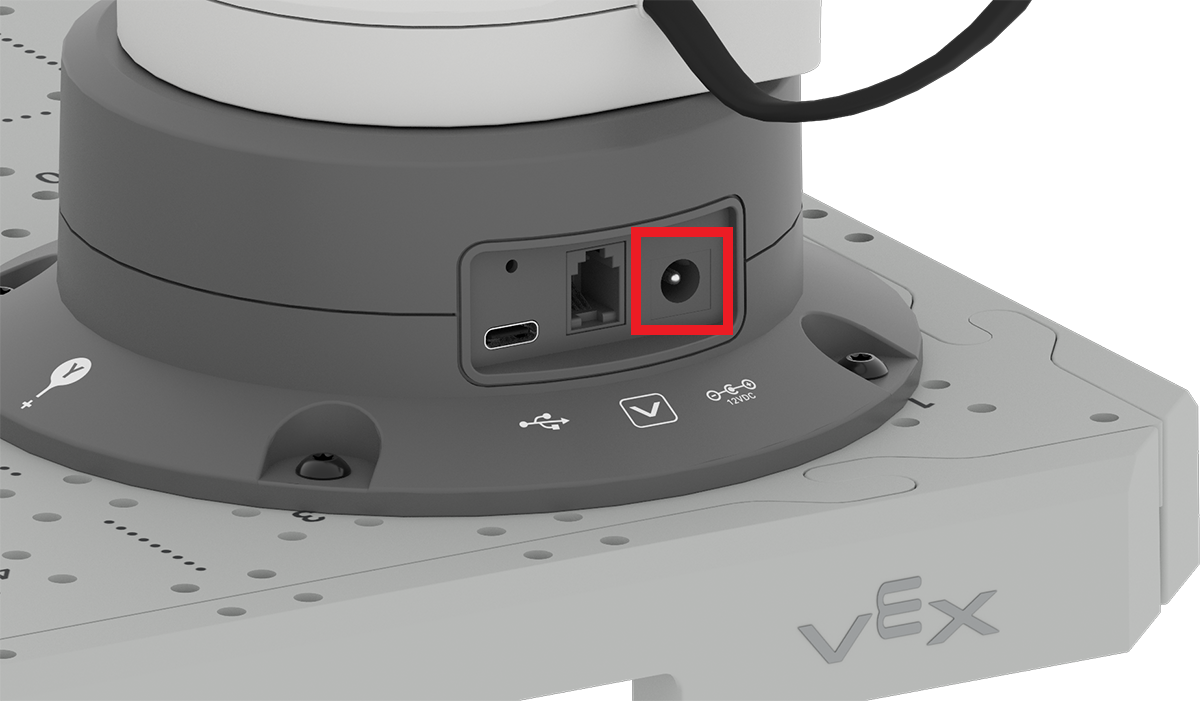
On the back of the 6-Axis Arm’s base, you will find three ports.
Connect the power cable to the rightmost port, marked 12VDC, then plug the other end into an outlet. The 6-Axis Arm needs external power when it is connected directly to a computer.
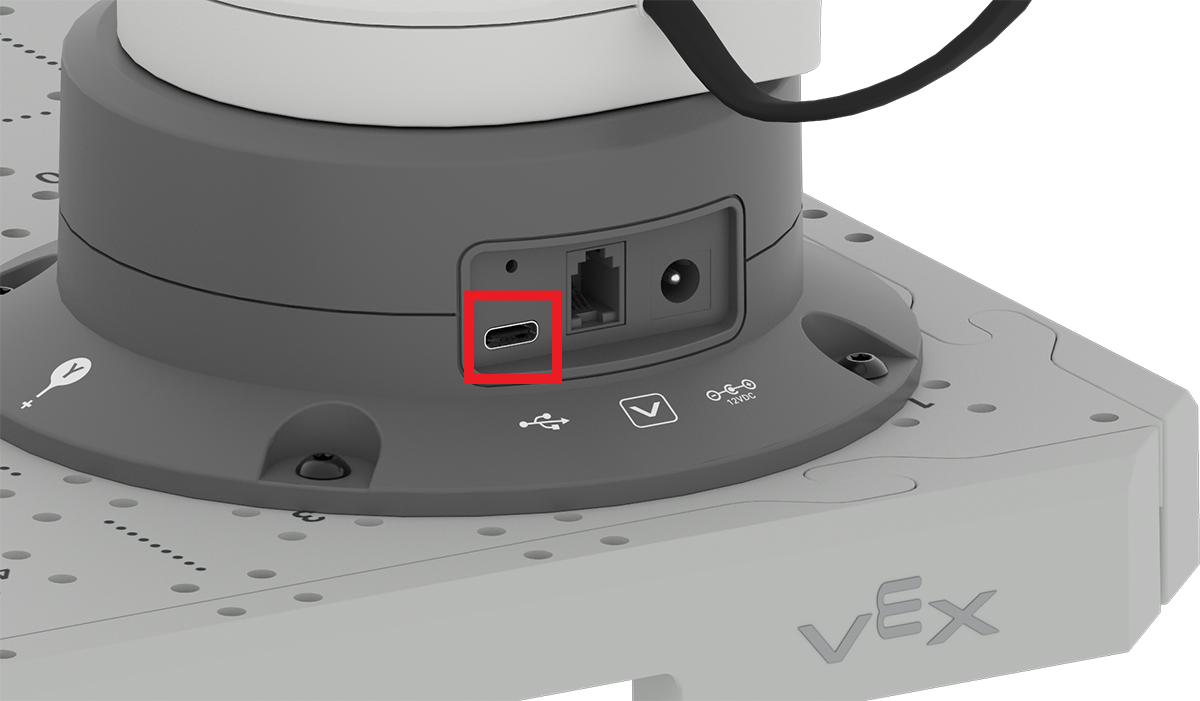
Connect a USB-C cable to the leftmost port on the base, then connect the other end to your computer.
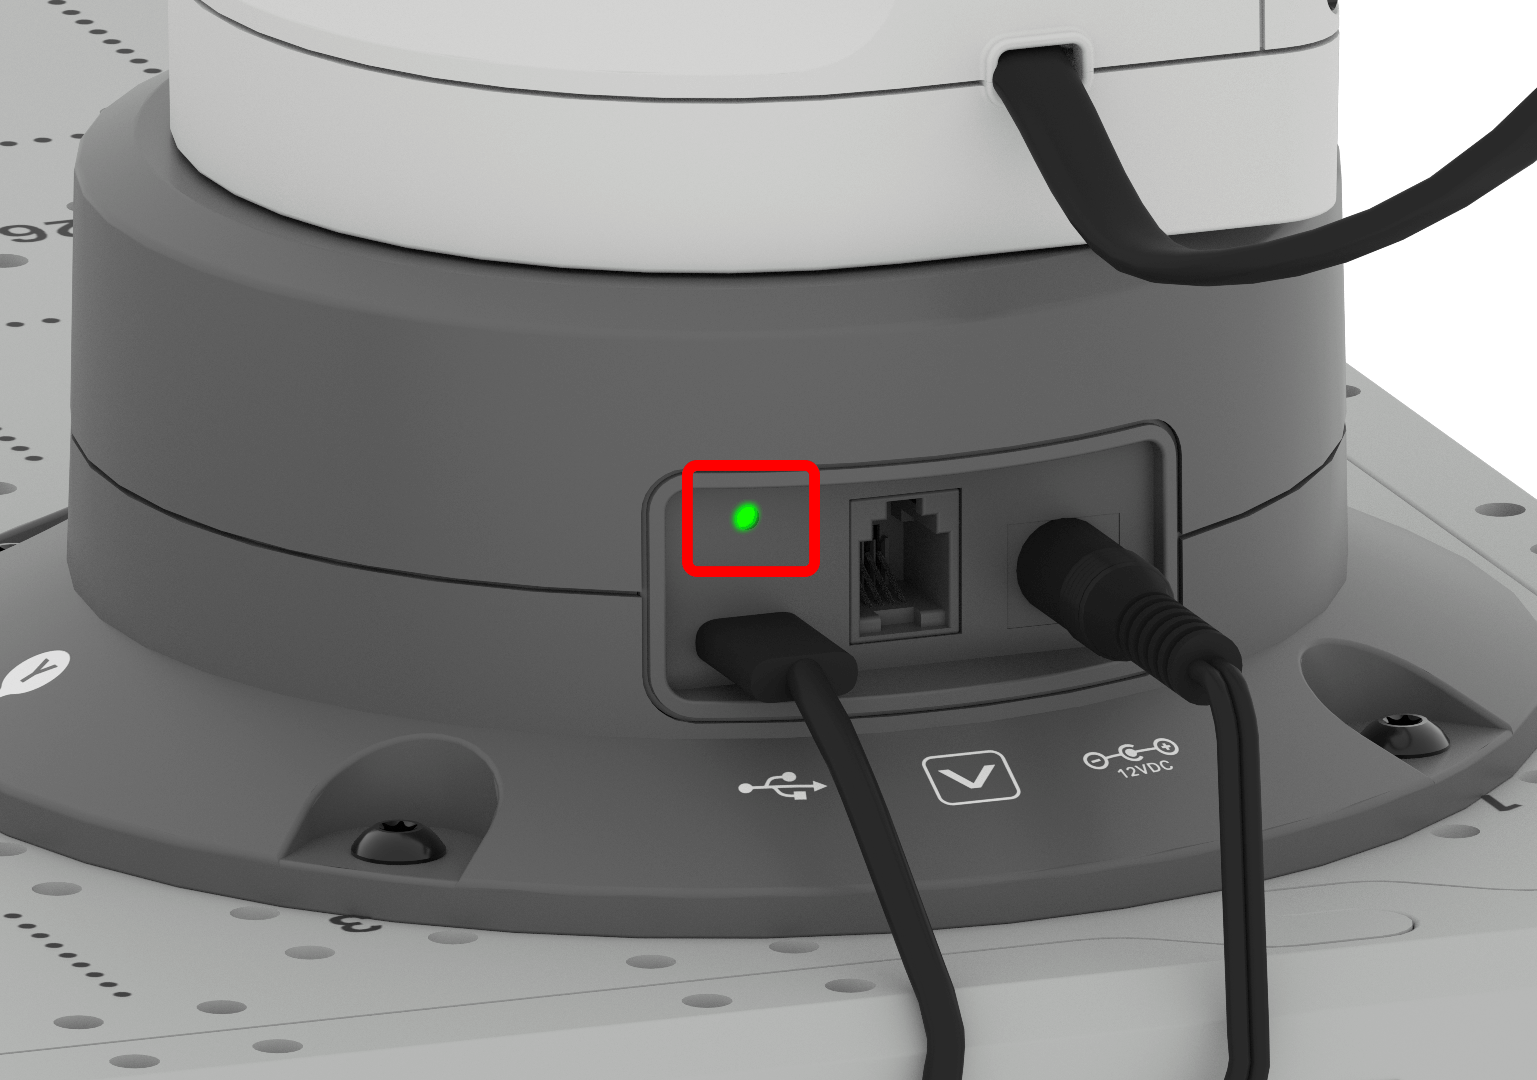
The green indicator light on the base will glow when the arm is powered and connected.
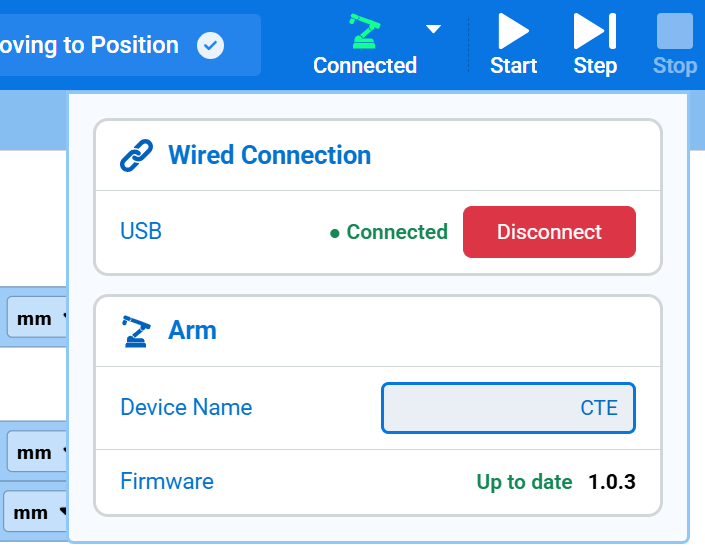
Connect the arm to VEXcode CTE. See Connecting to the 6-Axis Arm for the steps. Once the arm is connected, the arm icon in the toolbar turns green and the Connect button reads Connected.
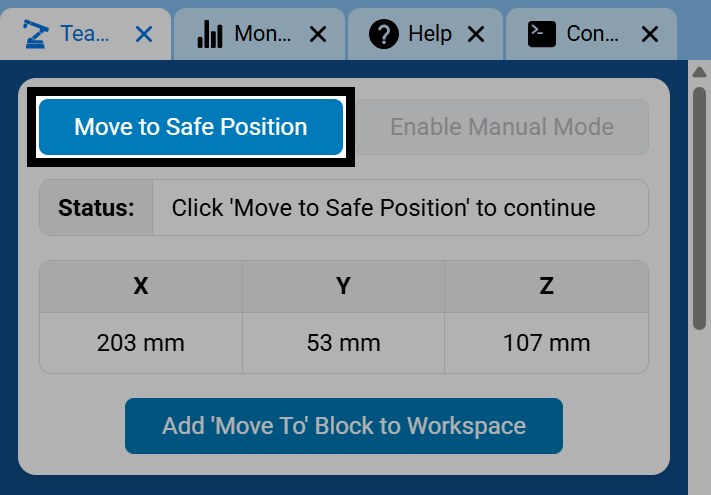
In the Teach Pendant tab, select Move to Safe Position to move the arm to a safe starting position before you run a project.