Naming and Saving Your Project#
Naming and Saving Your Project
This tutorial walks you through naming and saving a project in VEXcode GO. By the end, you’ll have saved your project under a new name.
Select the name of your project at the top of VEXcode.

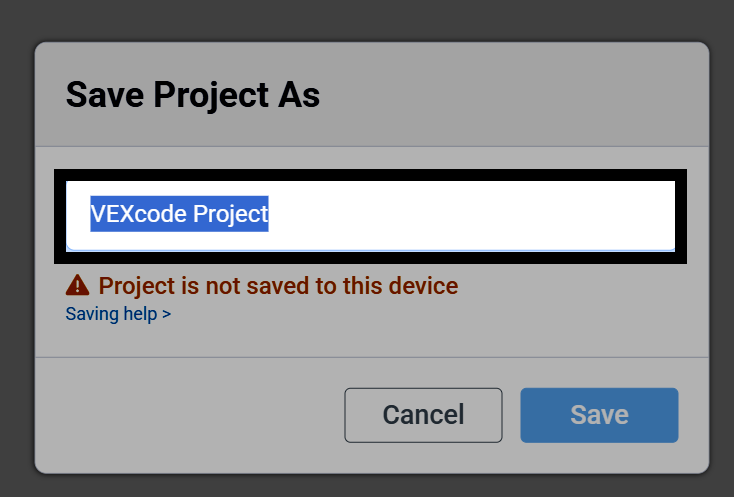
A dialog box will open. Type in a new name for your project.
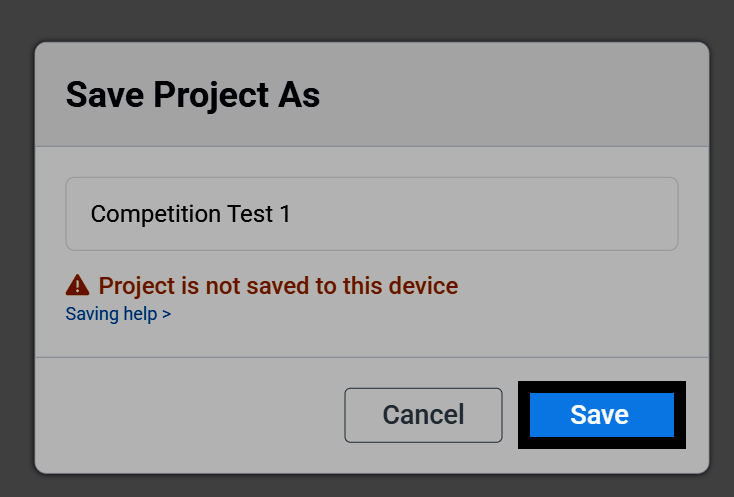
Select Save to open the saving dialog for your device.
Once the project is saved, its name will appear at the top of VEXcode. VEXcode will also start auto-saving your project as you work.

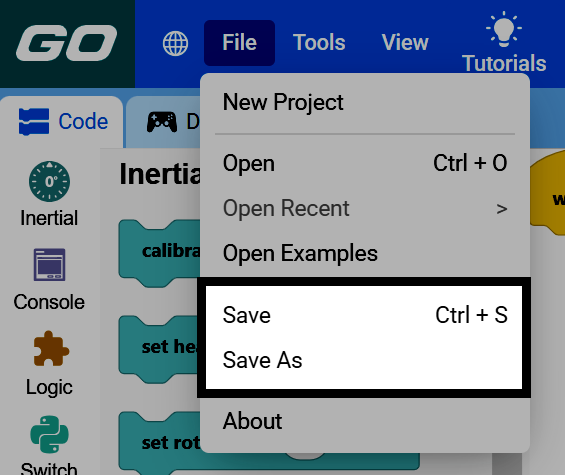
You can also save manually at any time. Select File in the top-left of VEXcode, then select Save to save the project, or Save As to save it with a new name.