
Understanding the Drive Tab#
This tutorial covers the Drive tab in VEXcode GO, which lets you drive a connected robot directly, without writing any code. By the end, you’ll know how to select a Drive Mode, use the on-screen controls, and read the Drive tab’s other features. Drive mode only works correctly with the Code Base build.
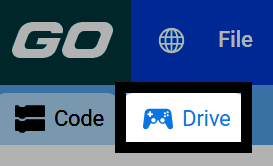
Make sure your robot is connected to VEXcode, then select the Drive tab to switch to Drive mode.
Select a Drive Mode:
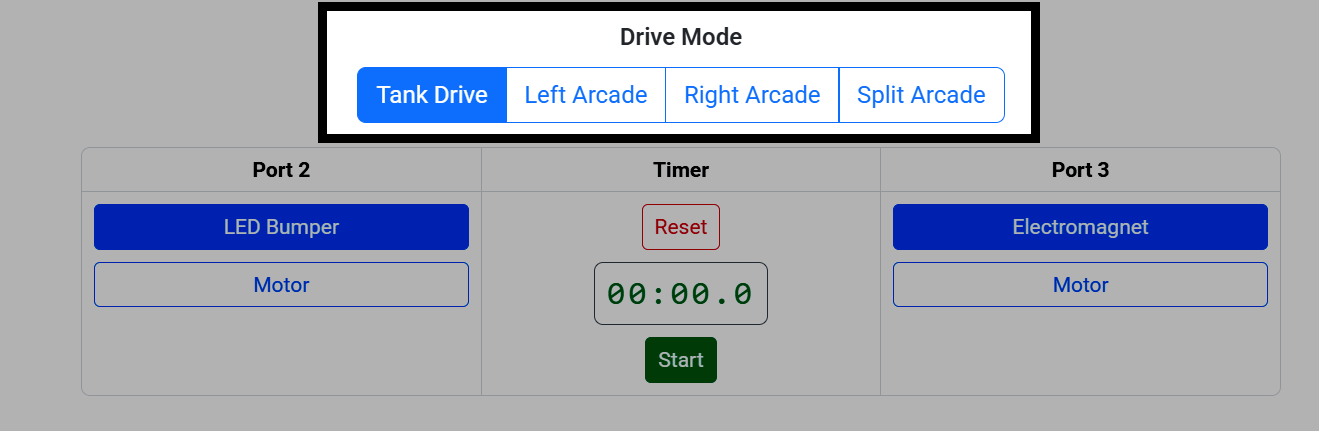
Tank Drive — Each side of the Drivetrain moves independently.
Left Arcade — The left side moves the Drivetrain’s forward/reverse movement and turning.
Right Arcade — The right side moves the Drivetrain’s forward/reverse movement and turning.
Split Arcade — One side moves the Drivetrain forward/reverse, the other side turns it.
Controlling the Robot#
Each side of the Drive tab has an on-screen joystick you can control with your mouse, or with the keyboard keys mapped below it.
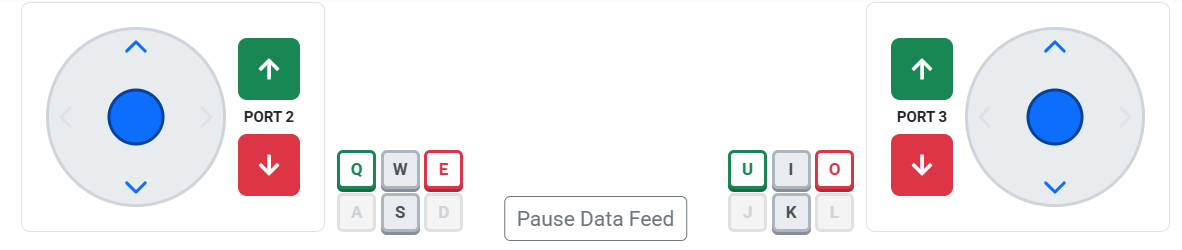
Q/E and U/O always control the device on Port 2 and Port 3. The rest of the keys control the Drivetrain, and always mean the same thing when active — W/I drive forward, S/K drive in reverse, A/D and J/L turn — but which ones are active depends on the Drive Mode:
Drive Mode |
Left joystick |
Right joystick |
|---|---|---|
Tank Drive |
W/S drive the left side |
I/K drive the right side |
Left Arcade |
W/S drive, A/D turn |
Not used |
Right Arcade |
Not used |
I/K drive, J/L turn |
Split Arcade |
W/S drive |
J/L turn |
In Tank Drive, for example, only W/S and I/K are active:


Selecting Port Devices#
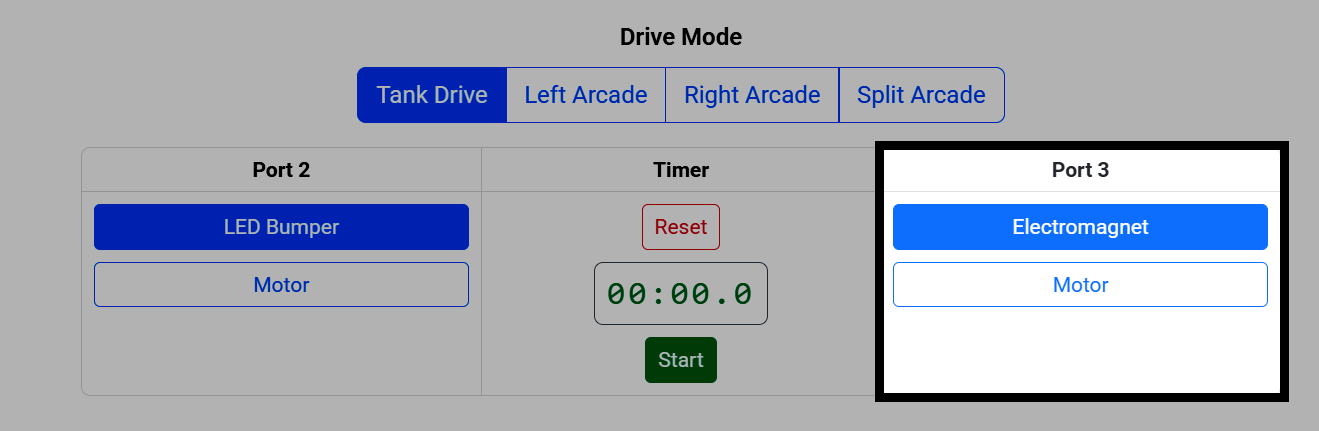
You can also select which device is plugged into Port 2 and Port 3, if you have an LED Bumper, Electromagnet, or additional Motor attached.
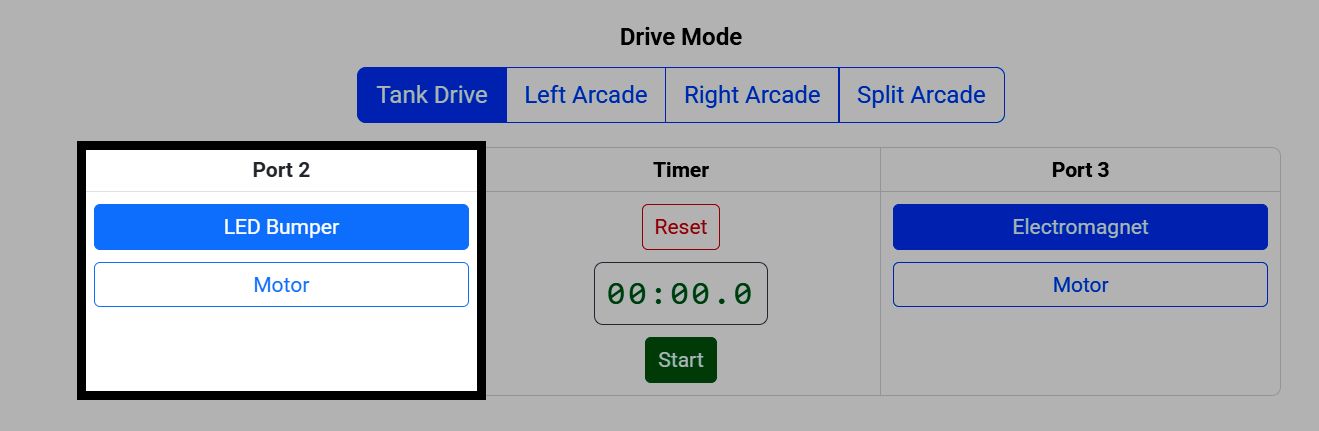
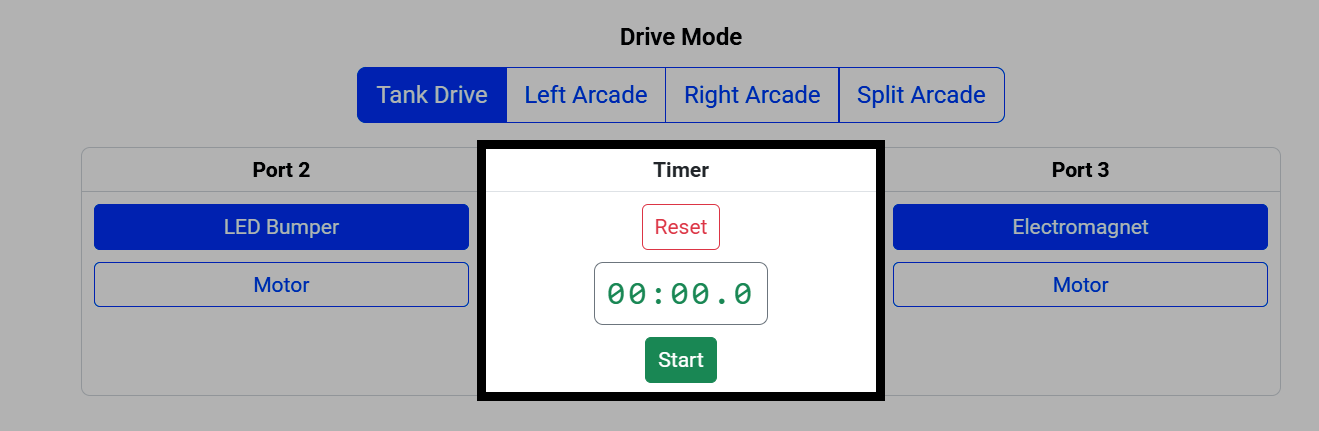
The Timer tracks how long you’ve been driving. Select Start to start it, and Reset to reset it back to zero.
Live Data#
The data tables show real-time data about your robot’s Brain, Drivetrain, and connected devices.

Select Pause Data Feed to freeze the data if you want to take a closer look.
