Configuring Your Robot Build#
Configuring Your Robot Build
This tutorial walks you through selecting a pre-made robot build in VEXcode GO. By the end, you’ll have your devices configured automatically, ready to code with.
Select the Devices tab.
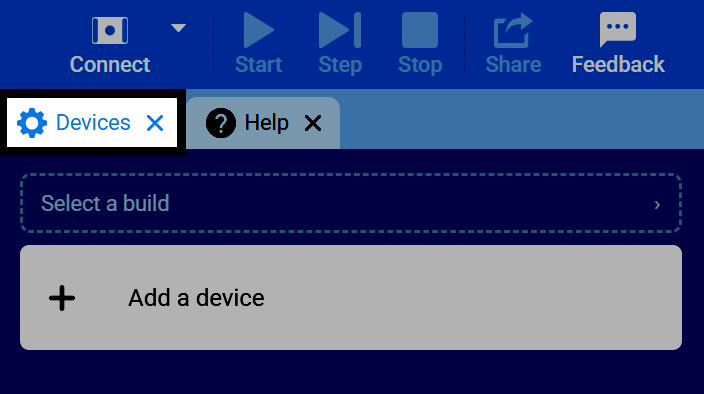
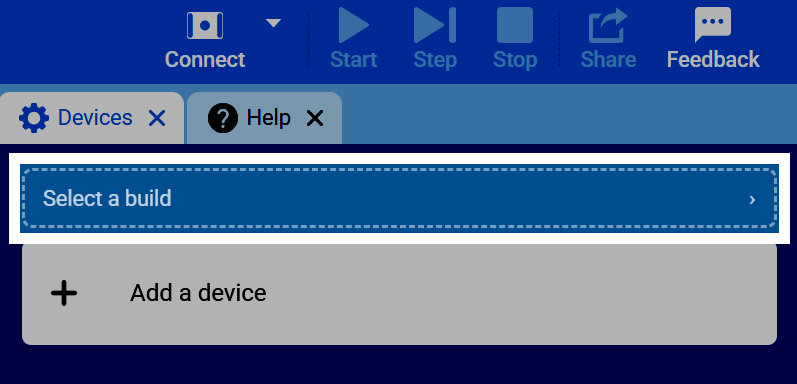
Select Select a build.
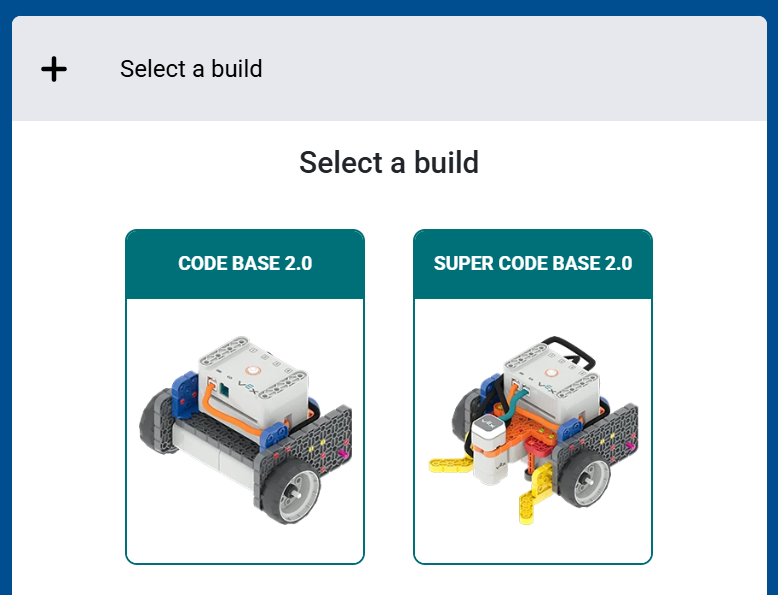
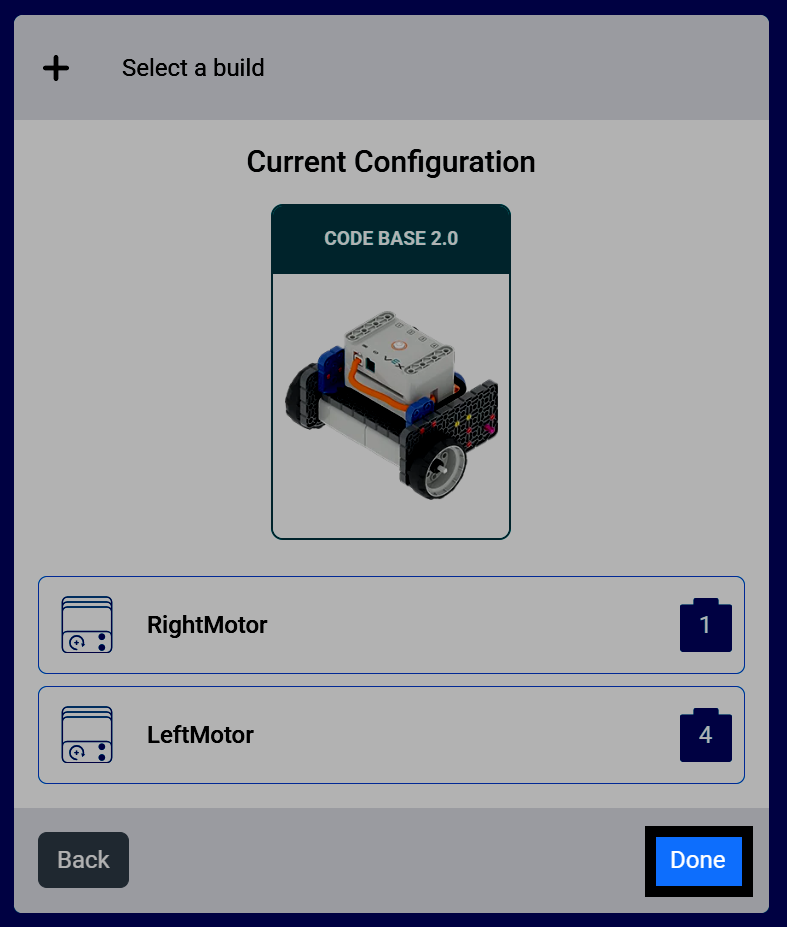
Select the robot build you are using, such as Code Base 2.0 or Super Code Base 2.0.
VEXcode will show you all of the devices used with the build and what ports they’re connected to. Select Done to add this configuration to your project.
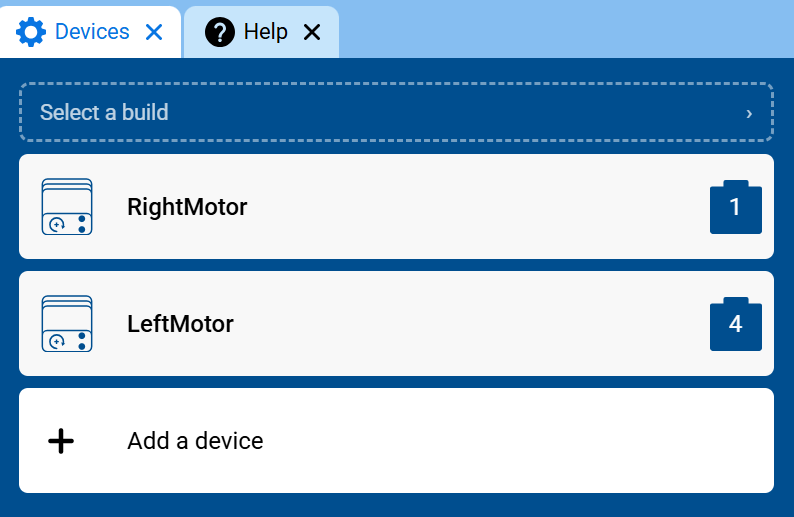
Those devices will now appear, configured in the Devices menu, ready to code with.
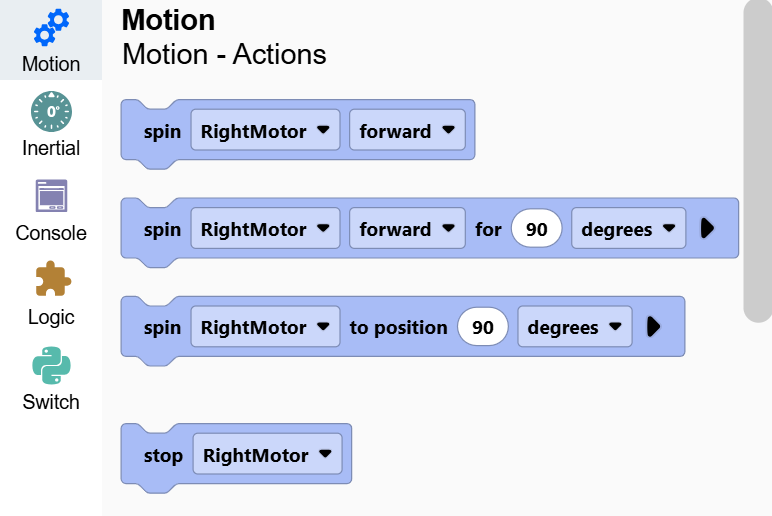
Their blocks will also be added to your toolbox. For example, this build’s motors appear in the Motion category.