Moving and Removing Blocks#
Moving and Removing Blocks
This tutorial covers how to move, attach, rearrange, and delete blocks in a project. By the end, you’ll know how to organize your blocks and remove the ones you don’t need.
To add a block to your project, click and drag the block from the toolbox, and release to drop it into the workspace.
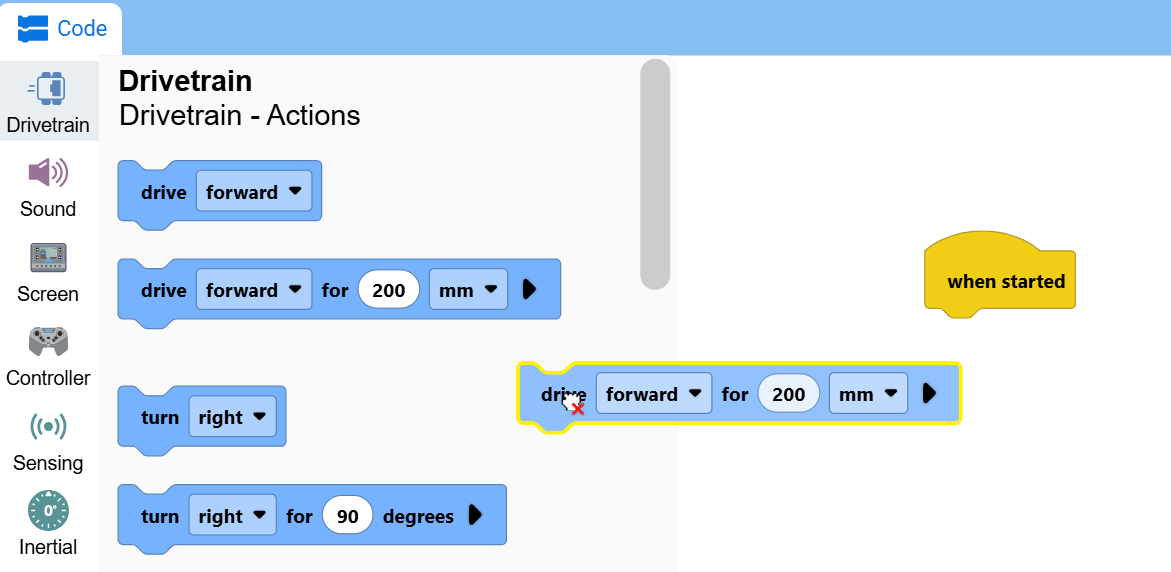
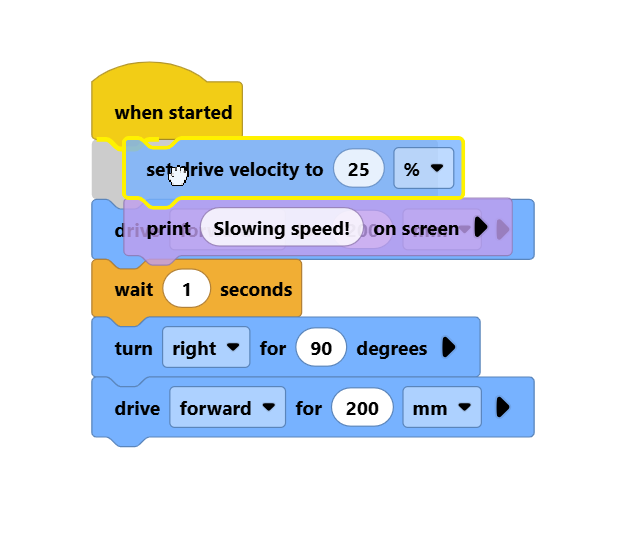
Drag a block to other blocks in order to attach them together.
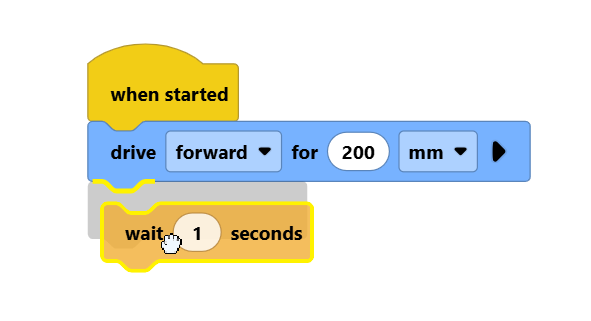
By clicking a block that’s above others, you can move entire groups of blocks together.
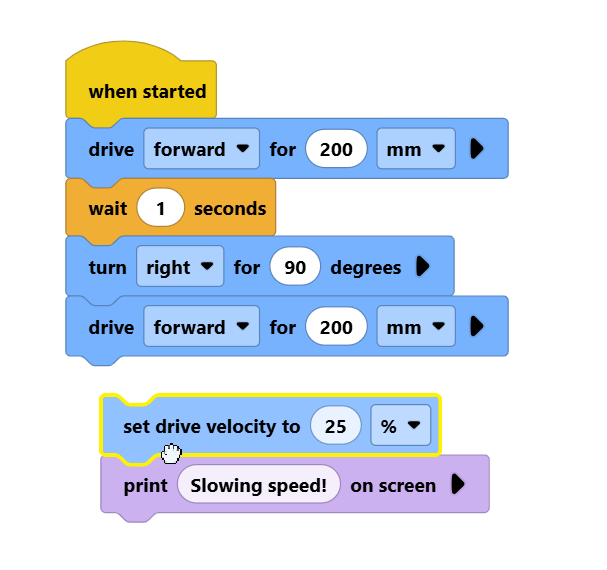
Dragging a stack of blocks above others allows you to insert them into the stack of blocks.
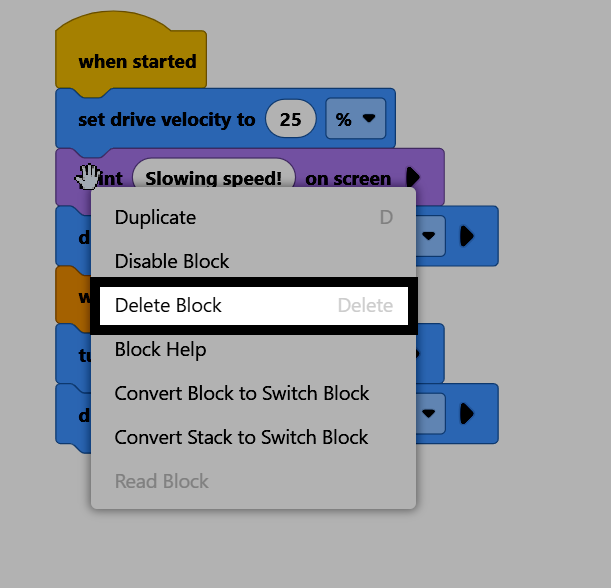
To delete a block, right-click the block and select Delete Block from the context menu. You can also select the block and press the delete key on your keyboard.