Moving Your Robot#
Moving Your Robot
This tutorial walks you through using the drive for block to move your robot forward and backward in VEXcode IQ (2nd gen). By the end, you’ll have a project that drives your robot forward, then in reverse.
Make sure your robot is configured with a Drivetrain, so you see the Drivetrain blocks in the toolbox. See Configuring a Drivetrain if you haven’t added one yet.
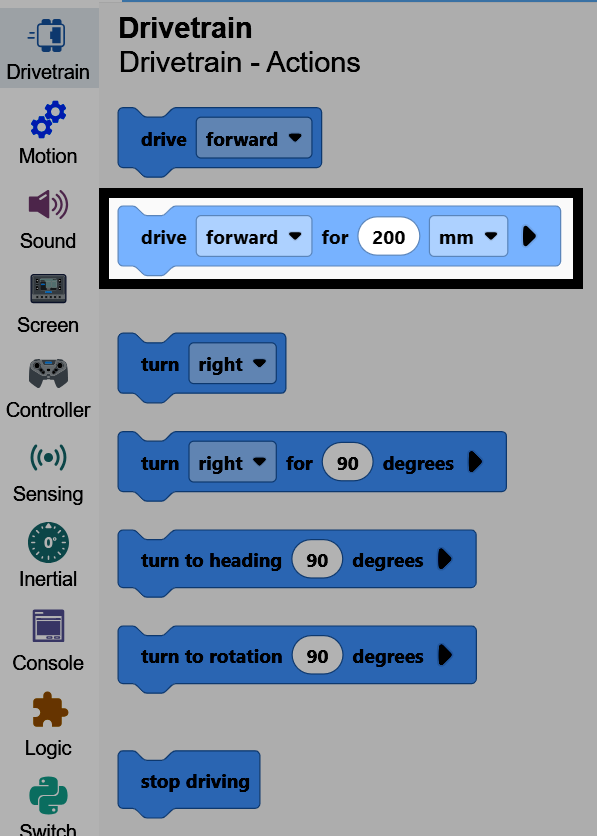
Attach two drive for blocks below the when started block.
Two drive for blocks connected below when started.#
    when started
        drive [forward v] for (200) [mm v] ▶
        drive [forward v] for (200) [mm v] ▶
On the second block, change the direction parameter to reverse.
The second block’s direction changed to reverse.#
    when started
        drive [forward v] for (200) [mm v] ▶
        drive [reverse v] for (200) [mm v] ▶
Make sure your robot is connected to VEXcode, then select Run to run the project. The robot will drive forward, then drive the same distance in reverse.