Configuring a Drivetrain#
This tutorial walks you through configuring a Drivetrain in VEXcode IQ (2nd gen). By the end, you’ll have added and configured a Drivetrain.
Select the Devices tab. If the Devices tab is not visible, see Navigating VEXcode.
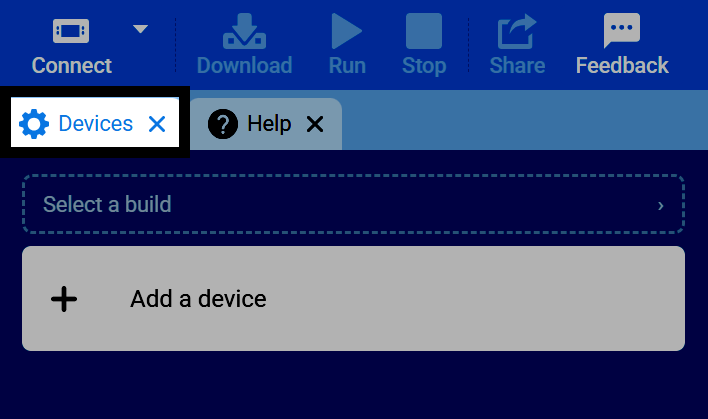
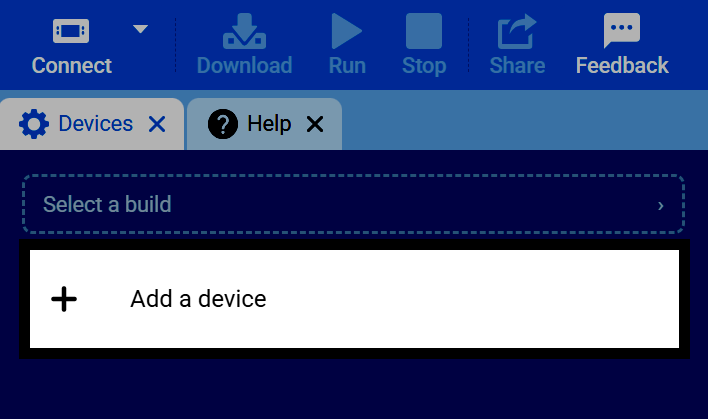
Select Add a Device.
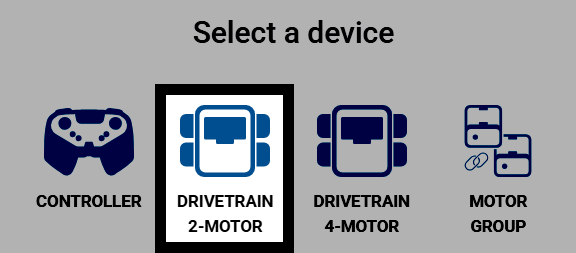
Select Drivetrain 2-Motor.
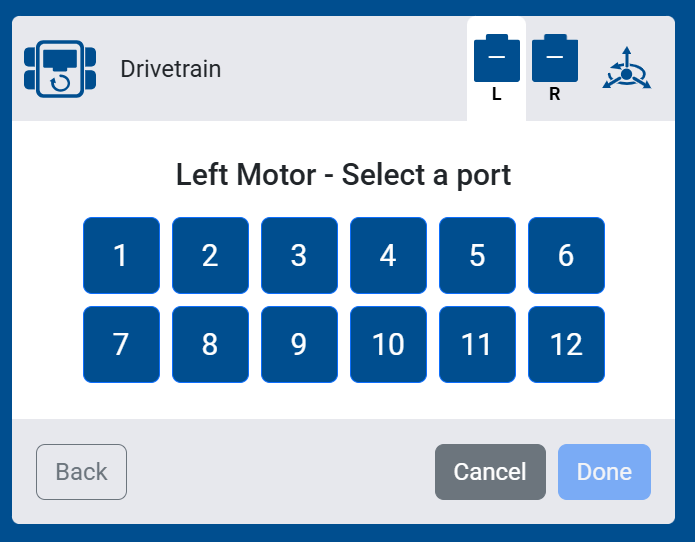
Select the port that the left motor is connected to.
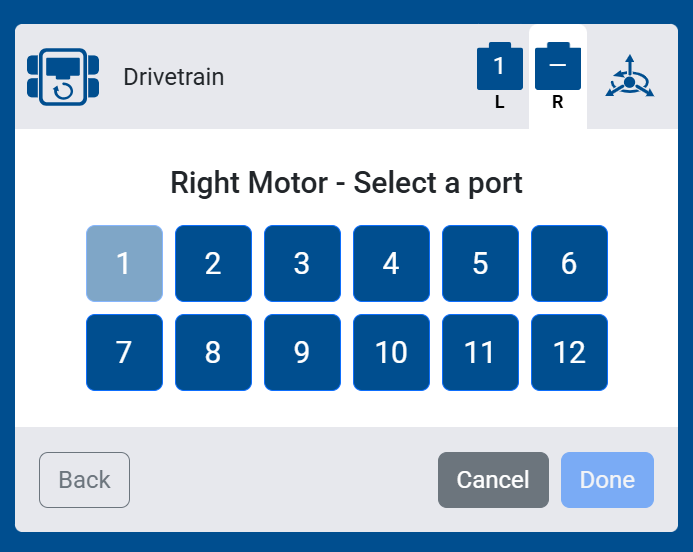
Select the port that the right motor is connected to.
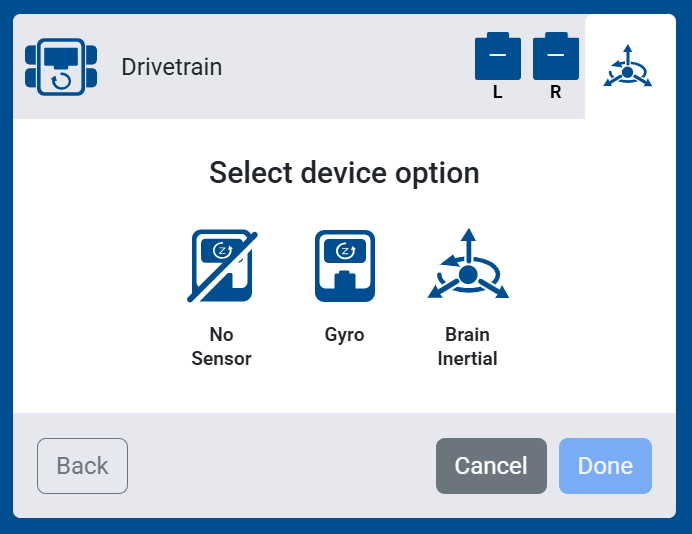
Select what sensor you want to use with your Drivetrain:
No Sensor — No Inertial or Gyro Sensor will be connected to your Drivetrain. Blocks that rely on these sensors will not appear in your toolbox.
Gyro — Select the port for an external Gyro Sensor to measure the drivetrain’s movements.
Brain Inertial — Use the Brain’s built-in Inertial Sensor to measure the drivetrain’s movements.
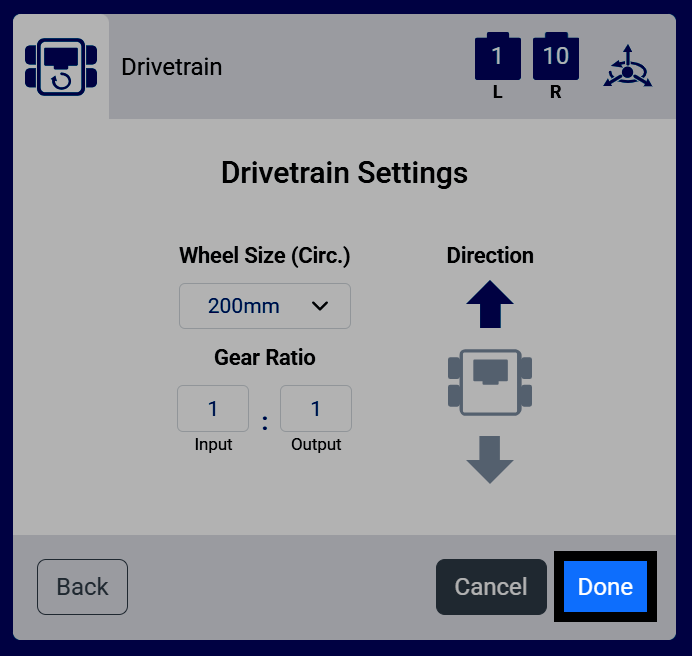
Configure your Drivetrain’s Wheel Size (Circ.), Gear Ratio, and Direction settings. If you’re using a pre-made build, the default values do not need to be changed.
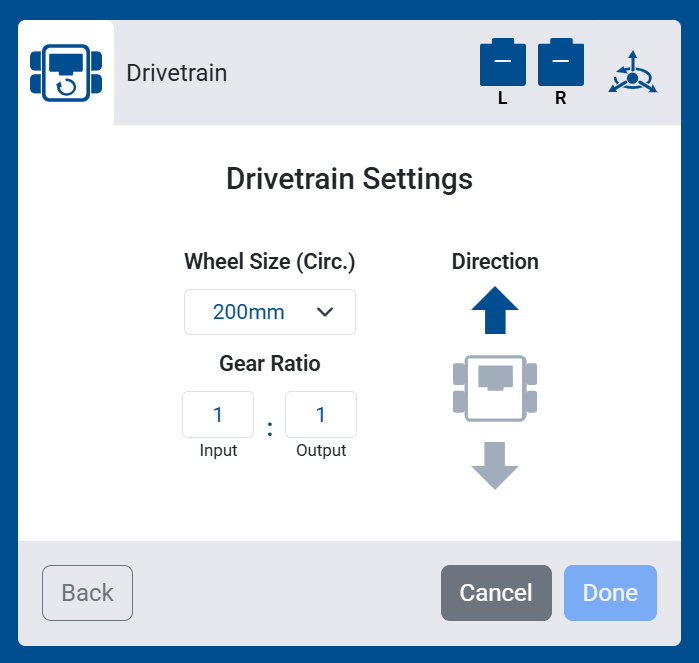
If you selected No Sensor, two additional settings will also appear: Track Width and Wheel Base, the distance between the left/right and front/back wheels. These help the Drivetrain estimate its movement without a Gyro or Inertial Sensor.
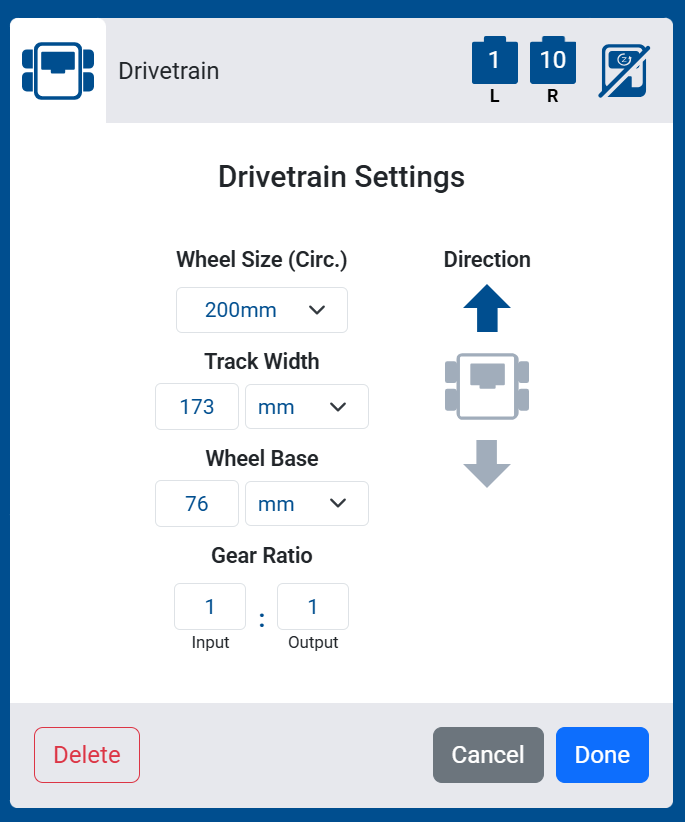
Select Done to add the Drivetrain to your robot.
The Drivetrain will now appear in your list of devices, and its category and blocks will be added to your toolbox.
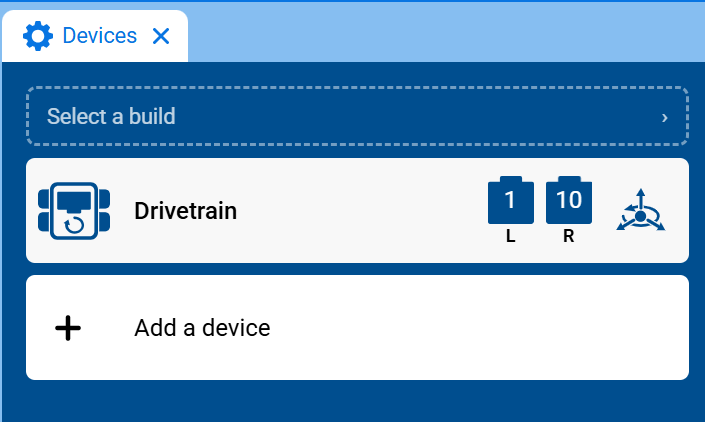
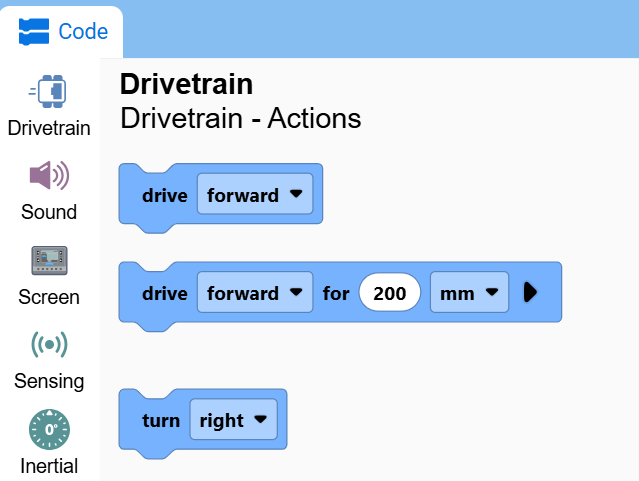
The Drivetrain category will now appear in the toolbox, containing its blocks.