Configuring a Controller#
This tutorial walks you through configuring a Controller in VEXcode IQ (2nd gen). By the end, you’ll have added a Controller and assigned it actions.
Select the Devices tab. If the Devices tab is not visible, see Navigating VEXcode.
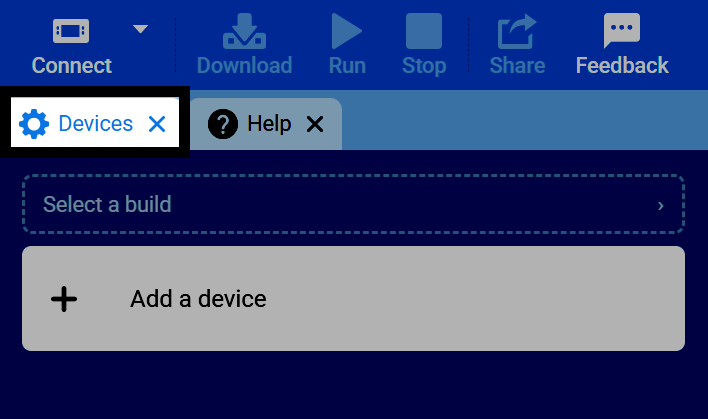
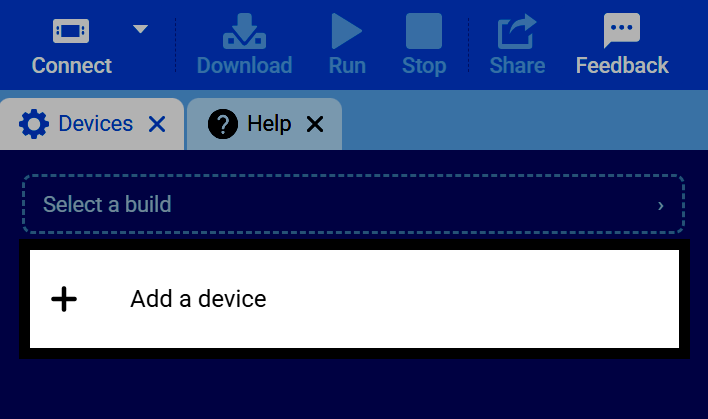
Select Add a Device.
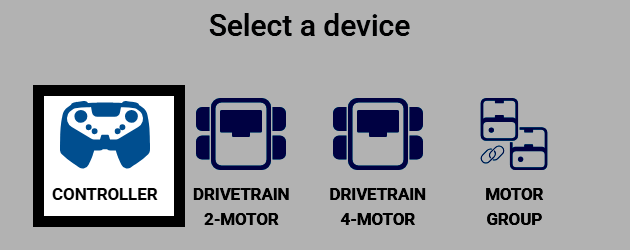
Select Controller.
The Controller’s buttons and joysticks are shown, labeled by name. If you have a Drivetrain and/or Motor configured, you can assign controls for them here. These configured actions only run during a project while the controller enable/disable block has them enabled.
Select a button to choose which pair of buttons will control that device — one button for the forward direction, and the other for reverse.
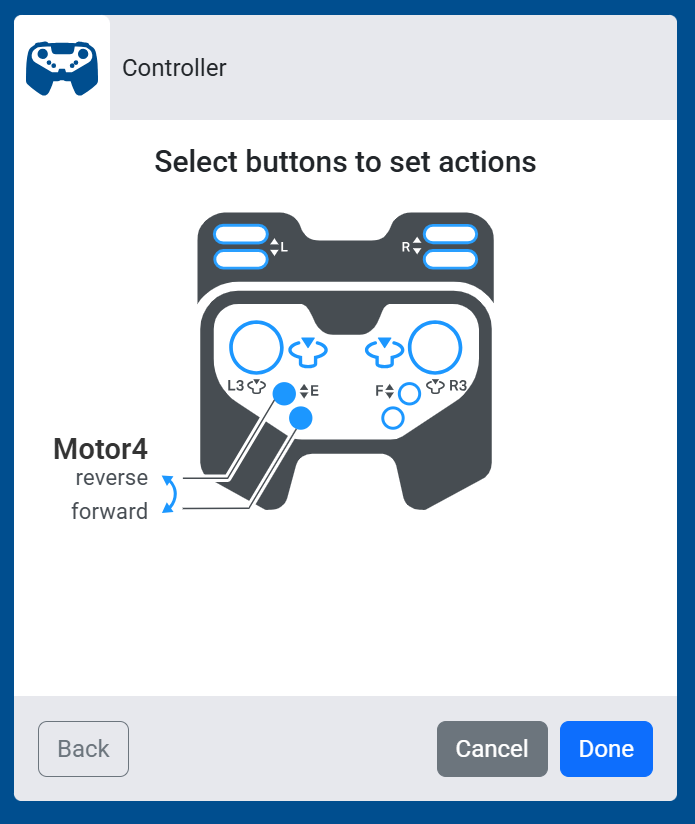
If you have a Drivetrain configured, selecting a joystick toggles through different control schemes:
Left Arcade — The left joystick controls both the Drivetrain’s forward and reverse movement and its turning.
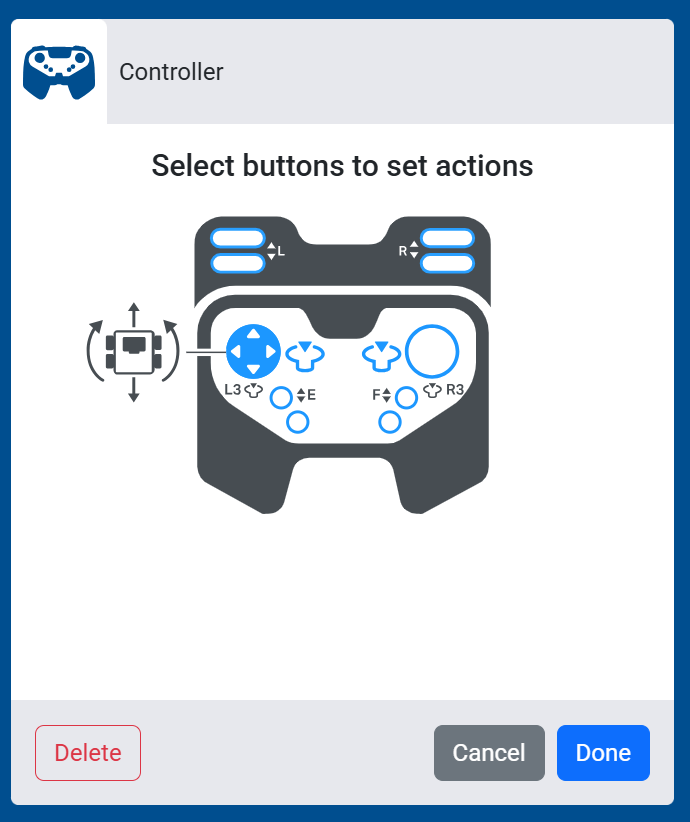
Right Arcade — The right joystick controls both the Drivetrain’s forward and reverse movement and its turning.
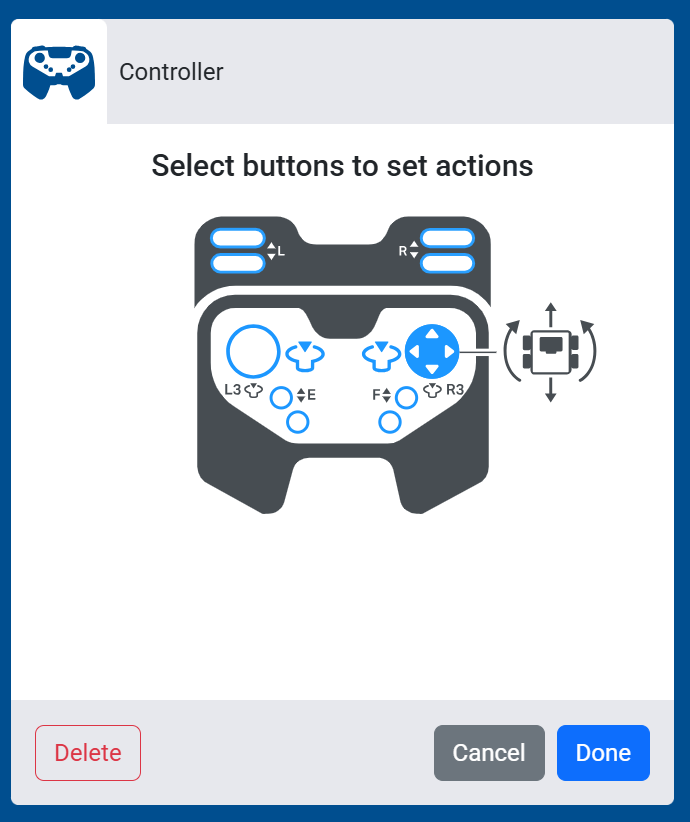
Split Arcade — One joystick controls the Drivetrain’s forward and reverse movement, while the other joystick controls turning.
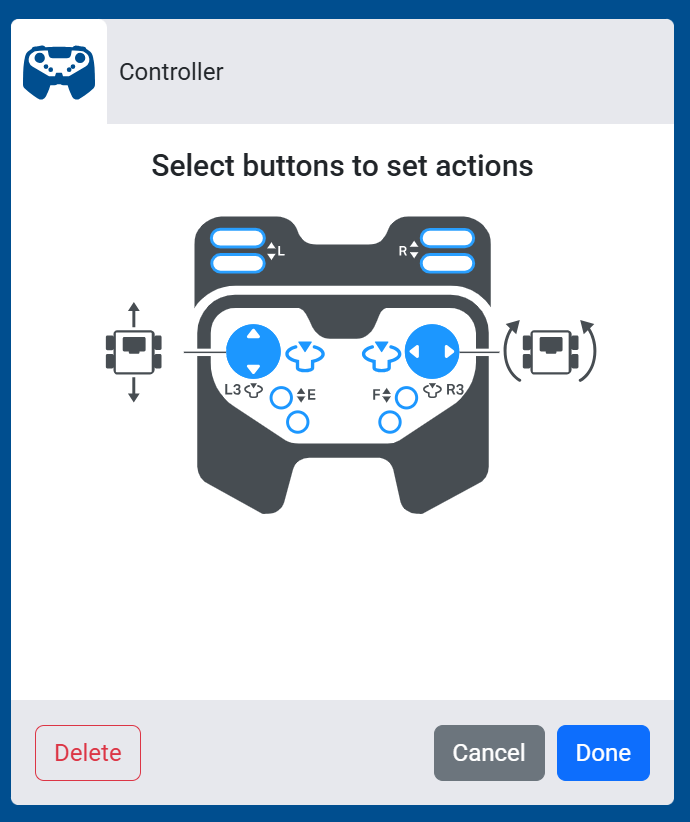
Tank Drive — The left joystick controls the left side of the Drivetrain, and the right joystick controls the right side, independently.
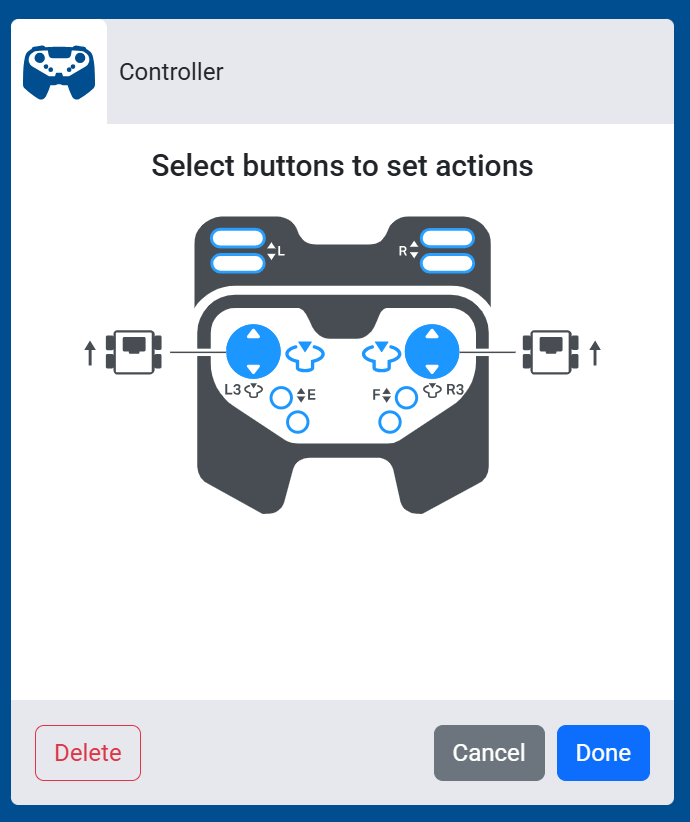
Select Done to add the Controller to your robot.
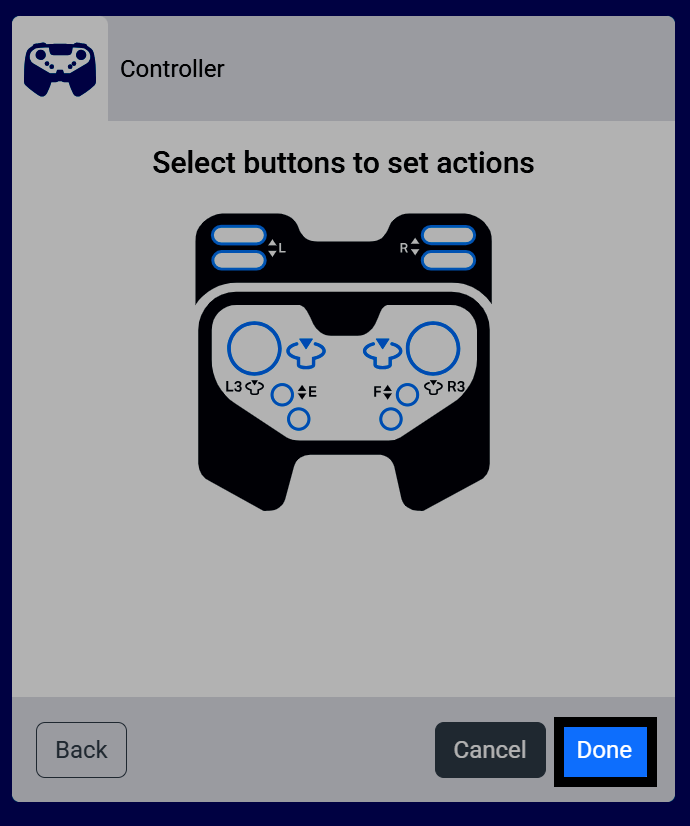
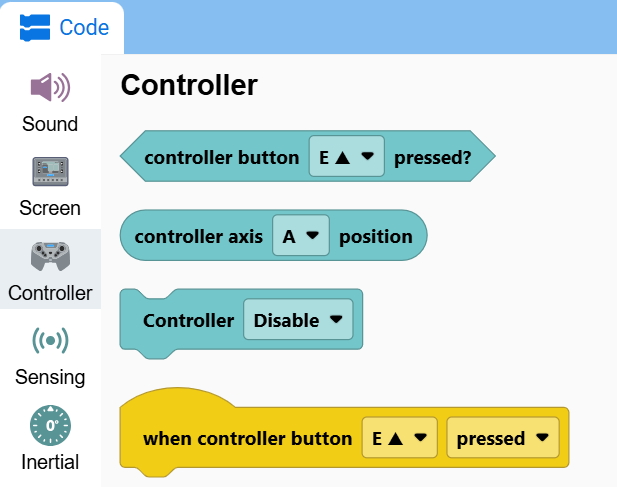
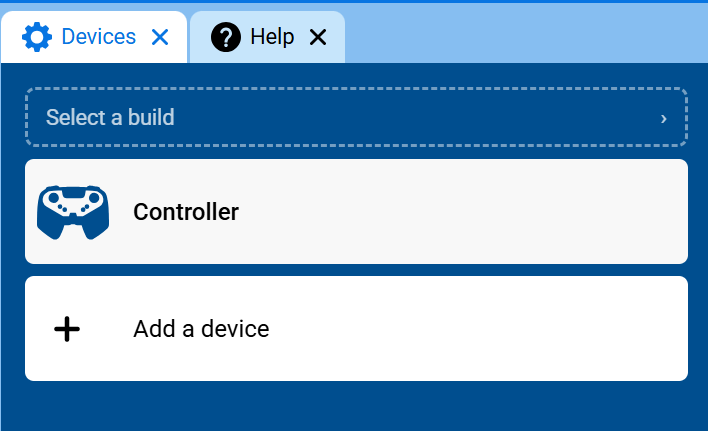
The Controller will now appear in your list of devices, and its category and blocks will be added to your toolbox.
The Controller category will now appear in the toolbox, containing its blocks.