连接到您的机器人#
This tutorial walks you through connecting your robot to VEXcode IQ (2nd gen). By the end, you’ll have your robot connected wirelessly over Bluetooth.
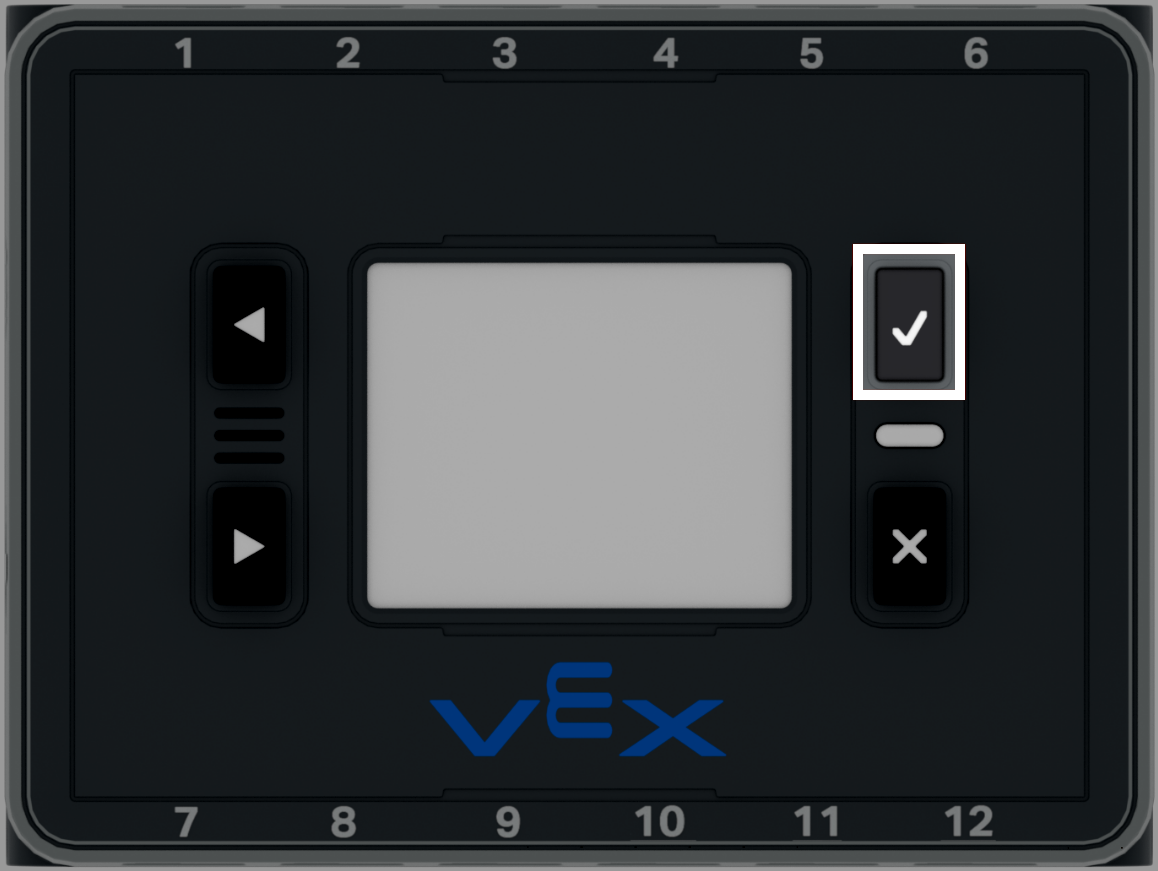
Press the Check button on the Brain to turn it on.
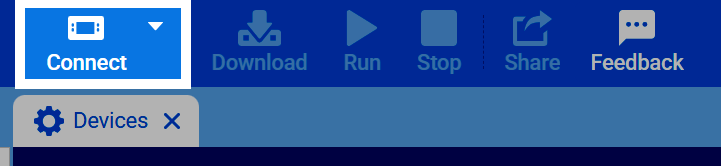
在 VEXcode 右上角选择“连接”按钮。
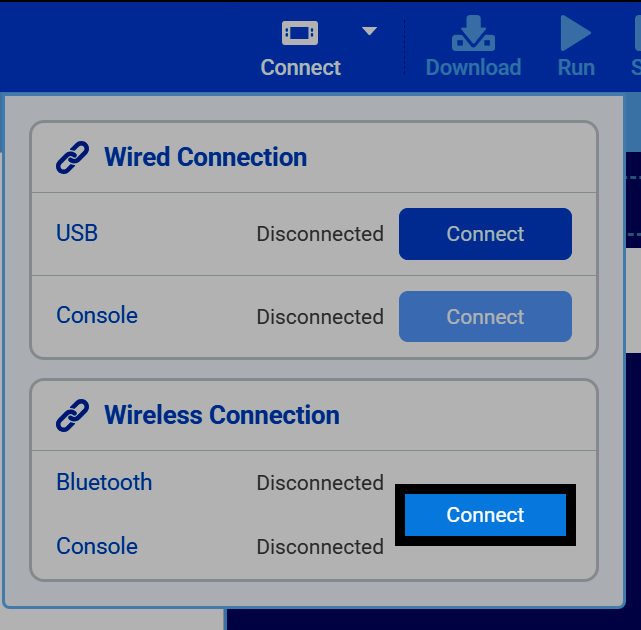
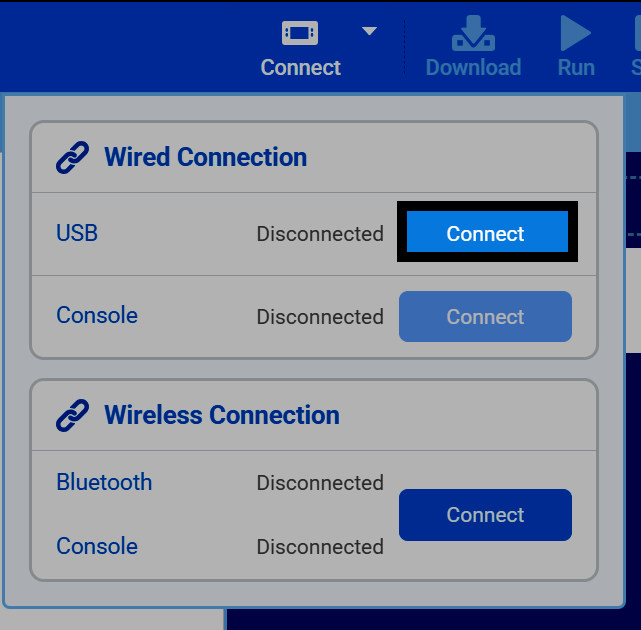
Select Connect under the Wireless Connection section.
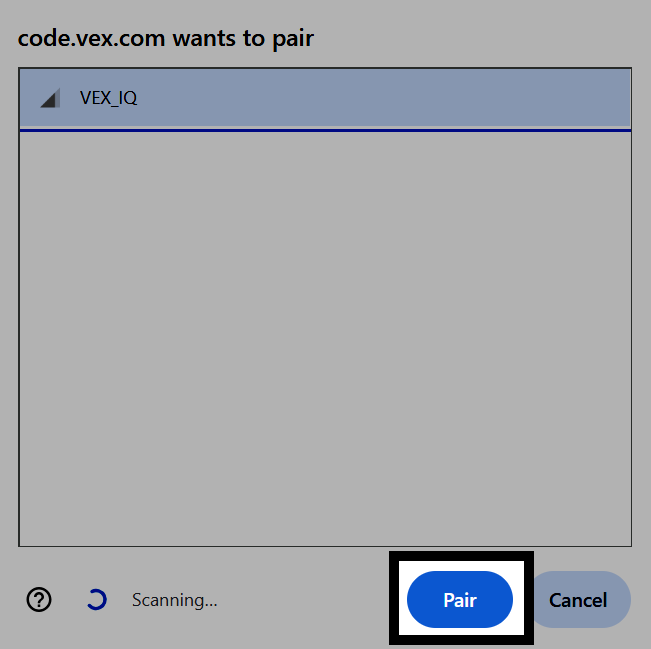
从列表中选择您的机器人,然后选择配对。
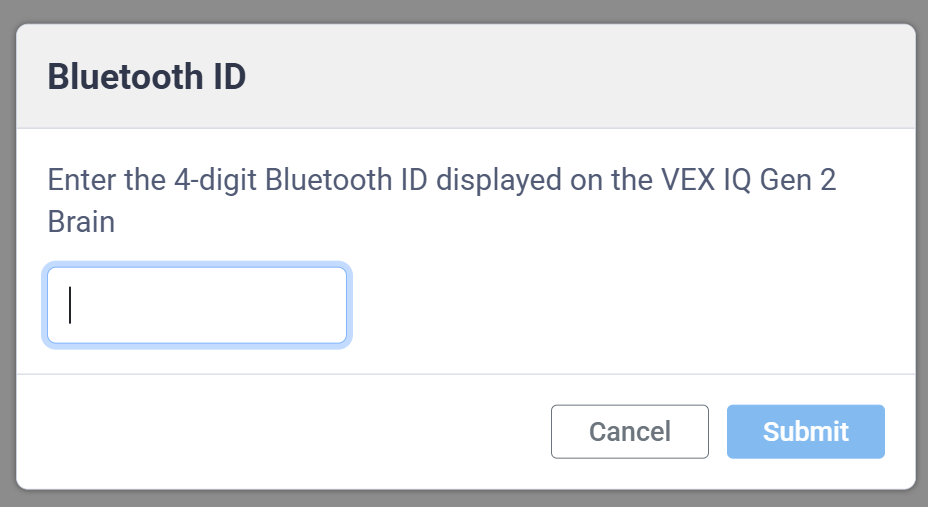
输入大脑屏幕上显示的 4 位蓝牙 ID,然后选择提交。
You can also connect with a USB cable instead. Select Connect under the Wired Connection section, then select the Communications Port option on Windows, or the option with the largest number on Mac.
If you also want to use the Console over a wired connection, select Connect under the Wired Connection section for Console, then select the User Port option on Windows, or the option with the lowest number on Mac.
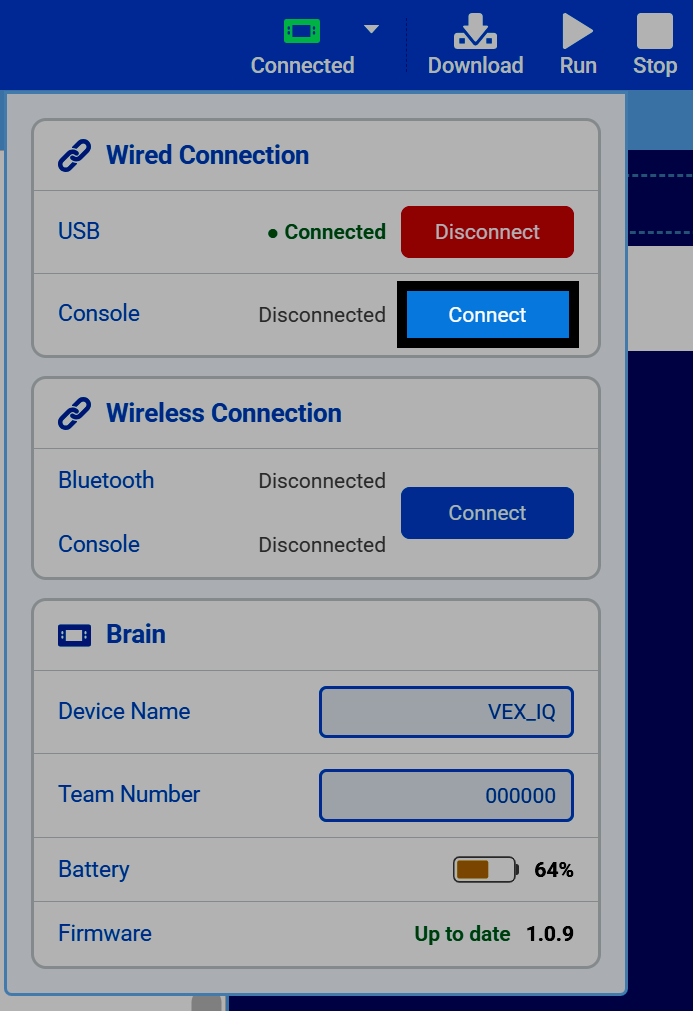
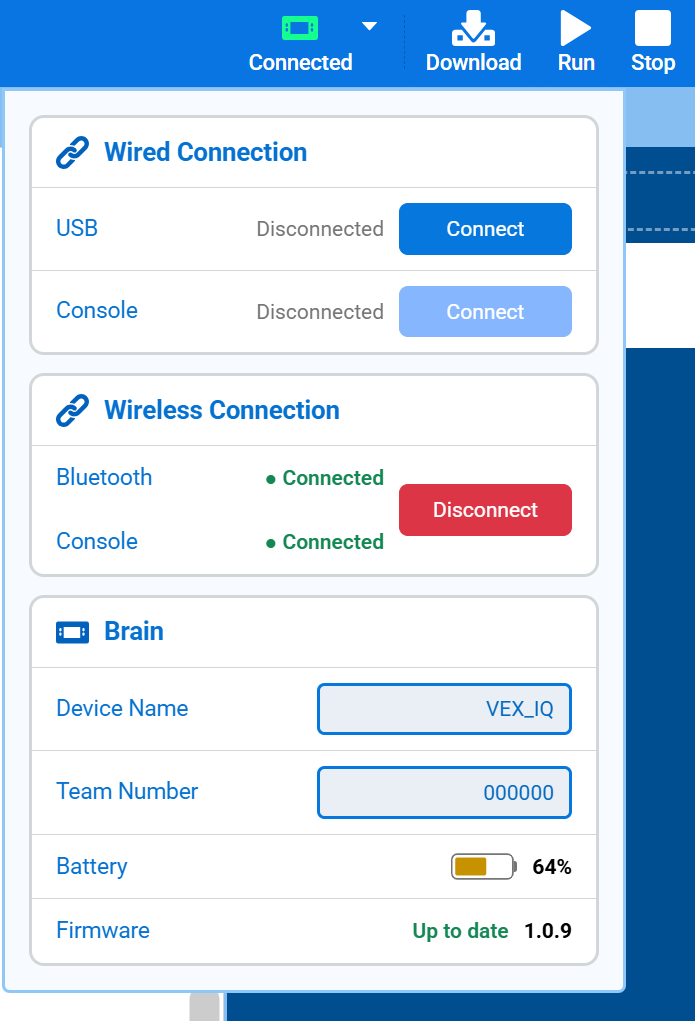
Once connected, the Brain section will appear, showing its Device Name, Team Number, battery, and firmware version. From here, you can also edit the Brain’s name and Team Number.